Getting Started with Right Networks
Right Networks provides a flexible and secure cloud platform for your QuickBooks Desktop that seamlessly connects with CashFlowTool to manage finances better. It enables anytime, anywhere access to the business data with scalable resources for a streamlined workflow.
Step-by-step setup guide
1
Launch your Right Networks remote access.
2
Load your QuickBooks Desktop file(s) to your Right Networks Account
Note: you can copy the QuickBooks Desktop Files to a cloud storage service like OneDrive and then download them into your Right Networks Account).
3
There are 2 ways to add your QB Desktop business into CashFlowTool:
Option 1: Launch the Chrome Browser and log on to your CashFlowTool Account (then follow the rest of the steps).
Option 2: Open QuickBooks Desktop in Right Networks, add your Company File and skip to step 7.

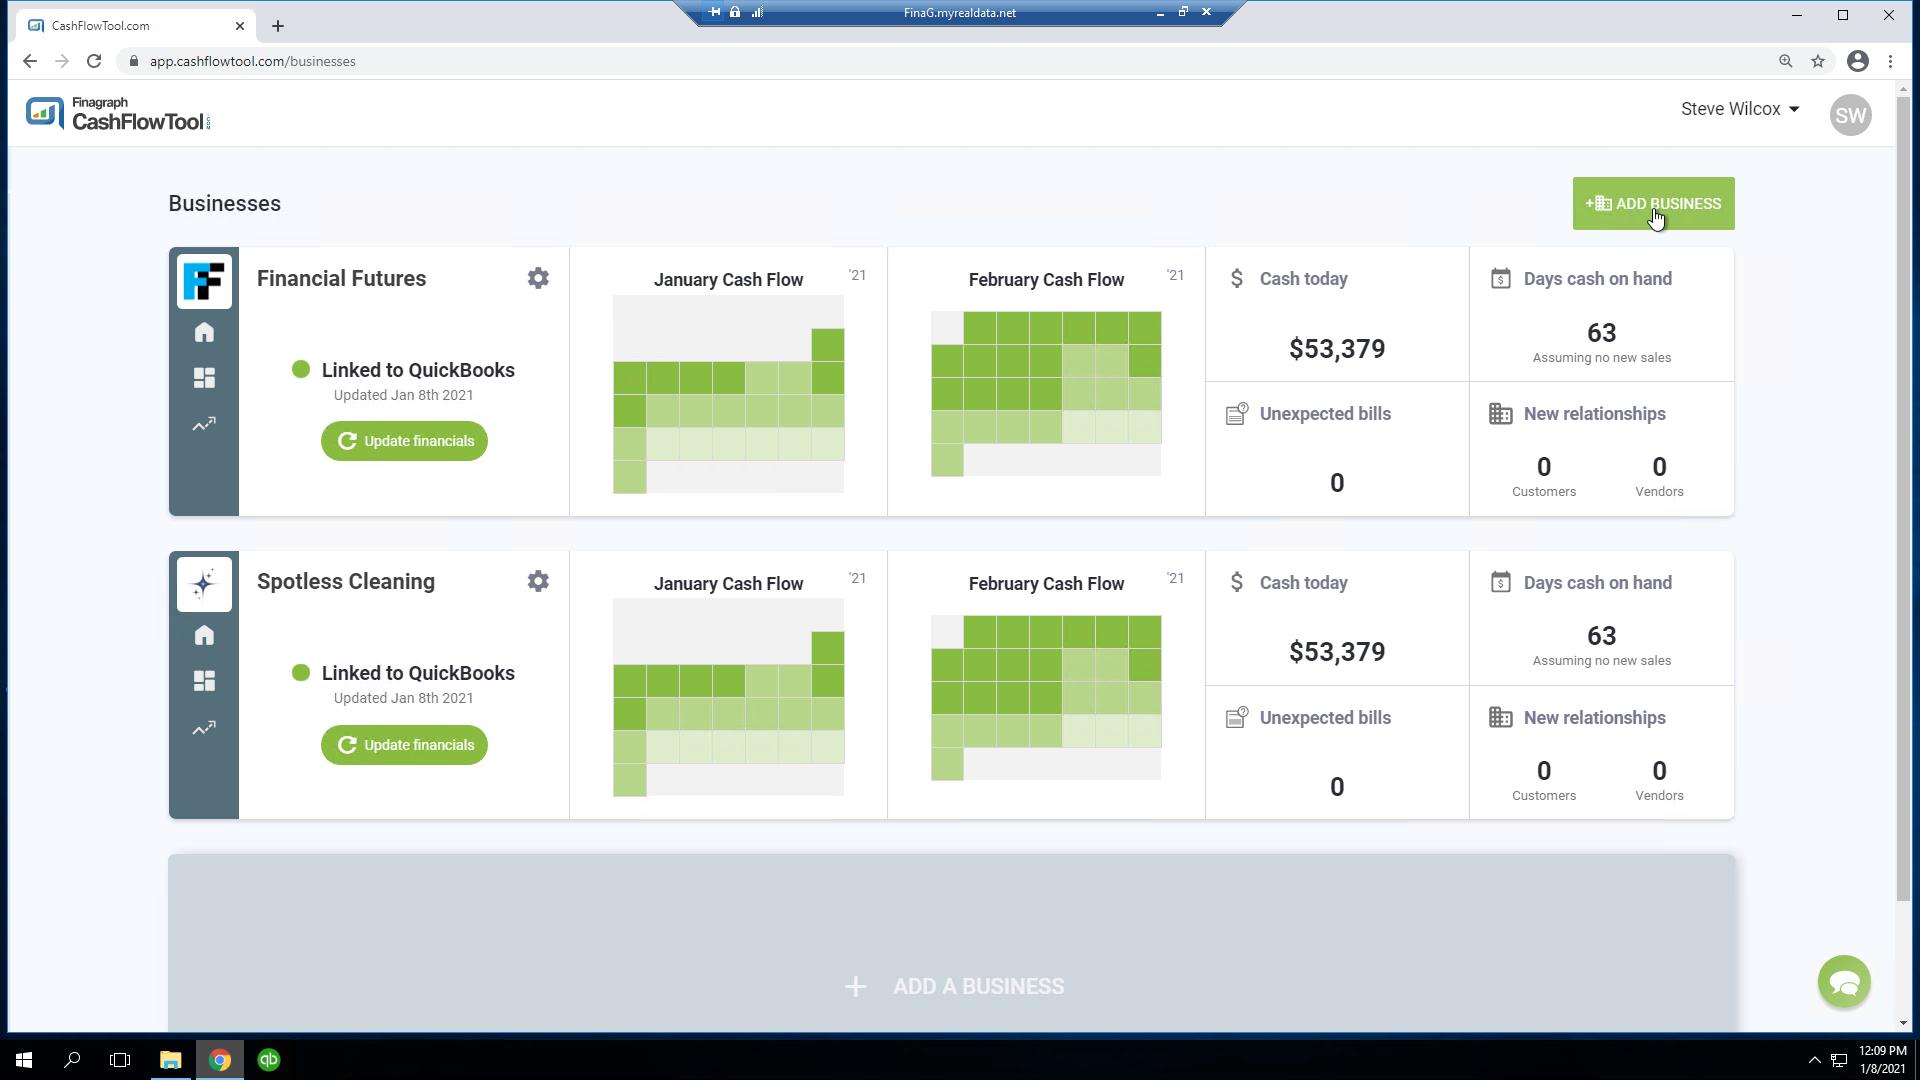
4
Add a new Business in CashFlowTool.
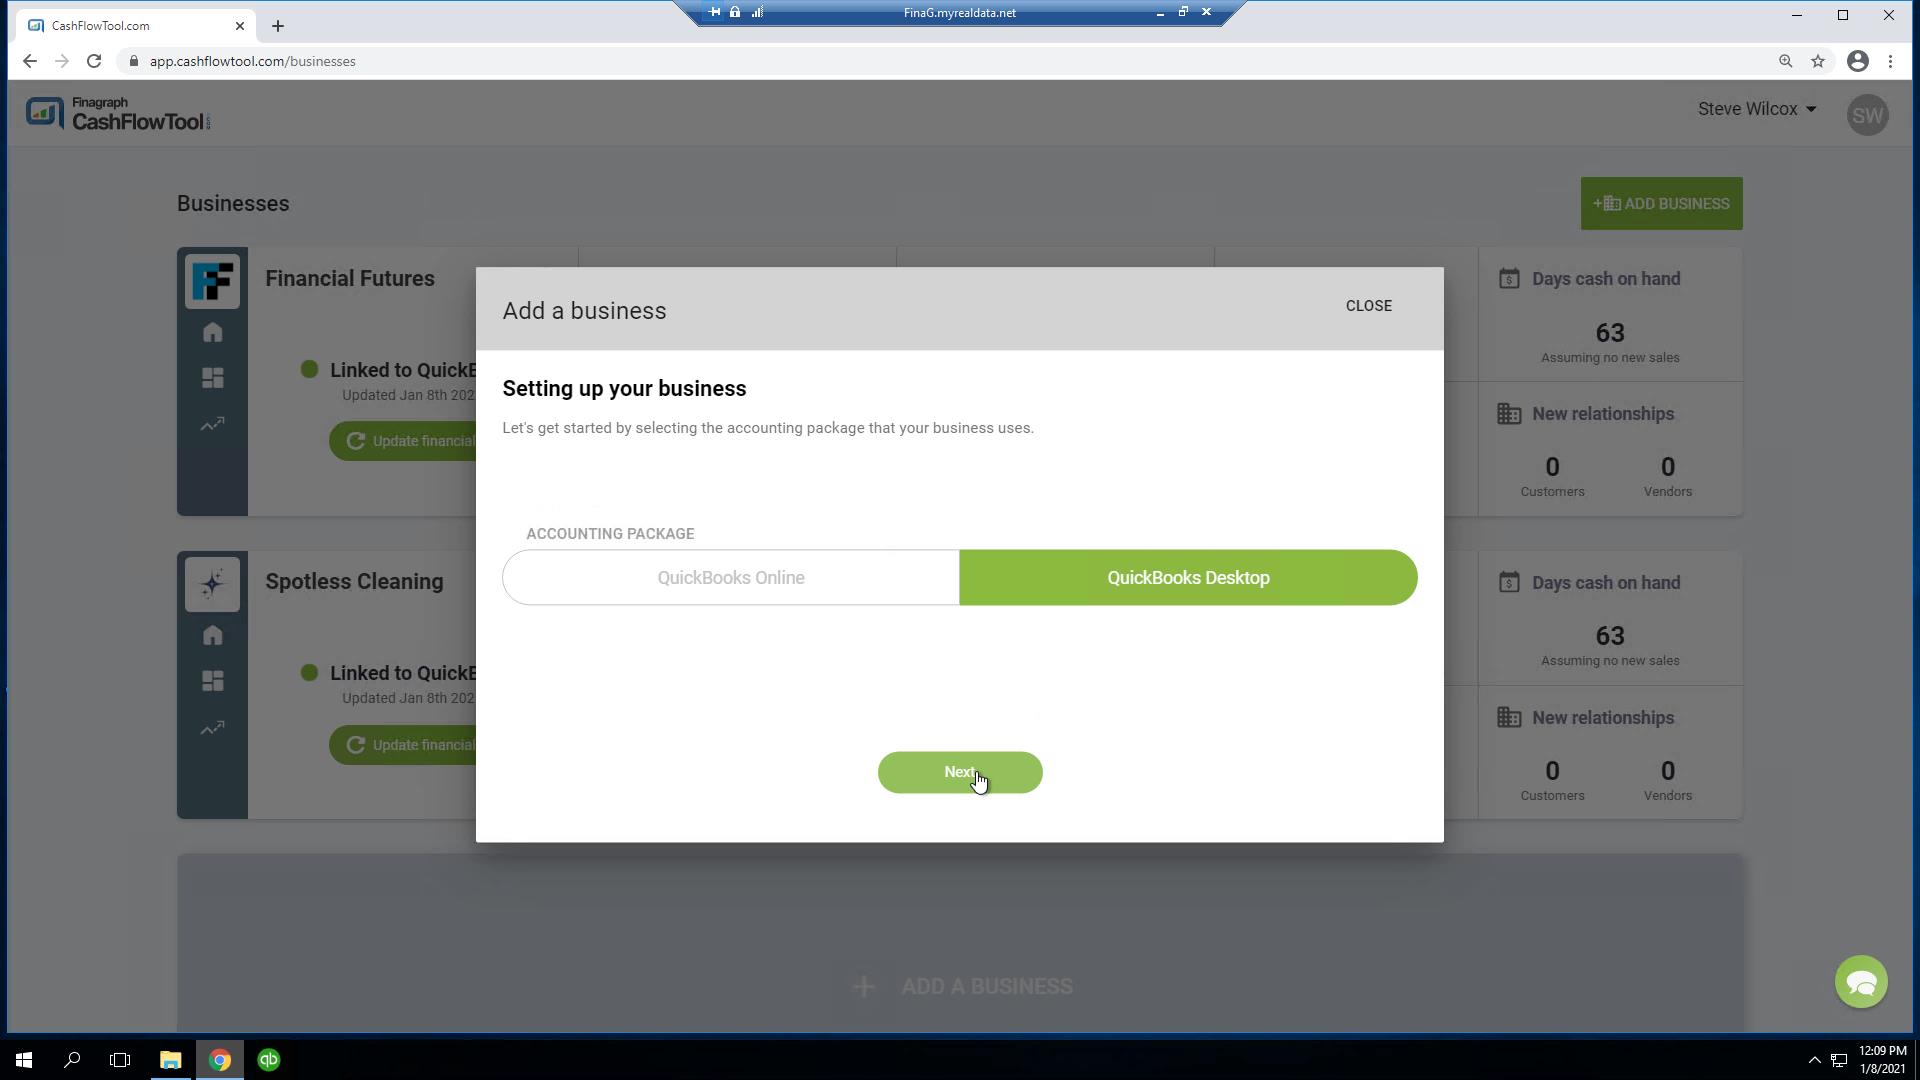
5
Select QuickBooks Desktop when prompted to choose your accounting package.
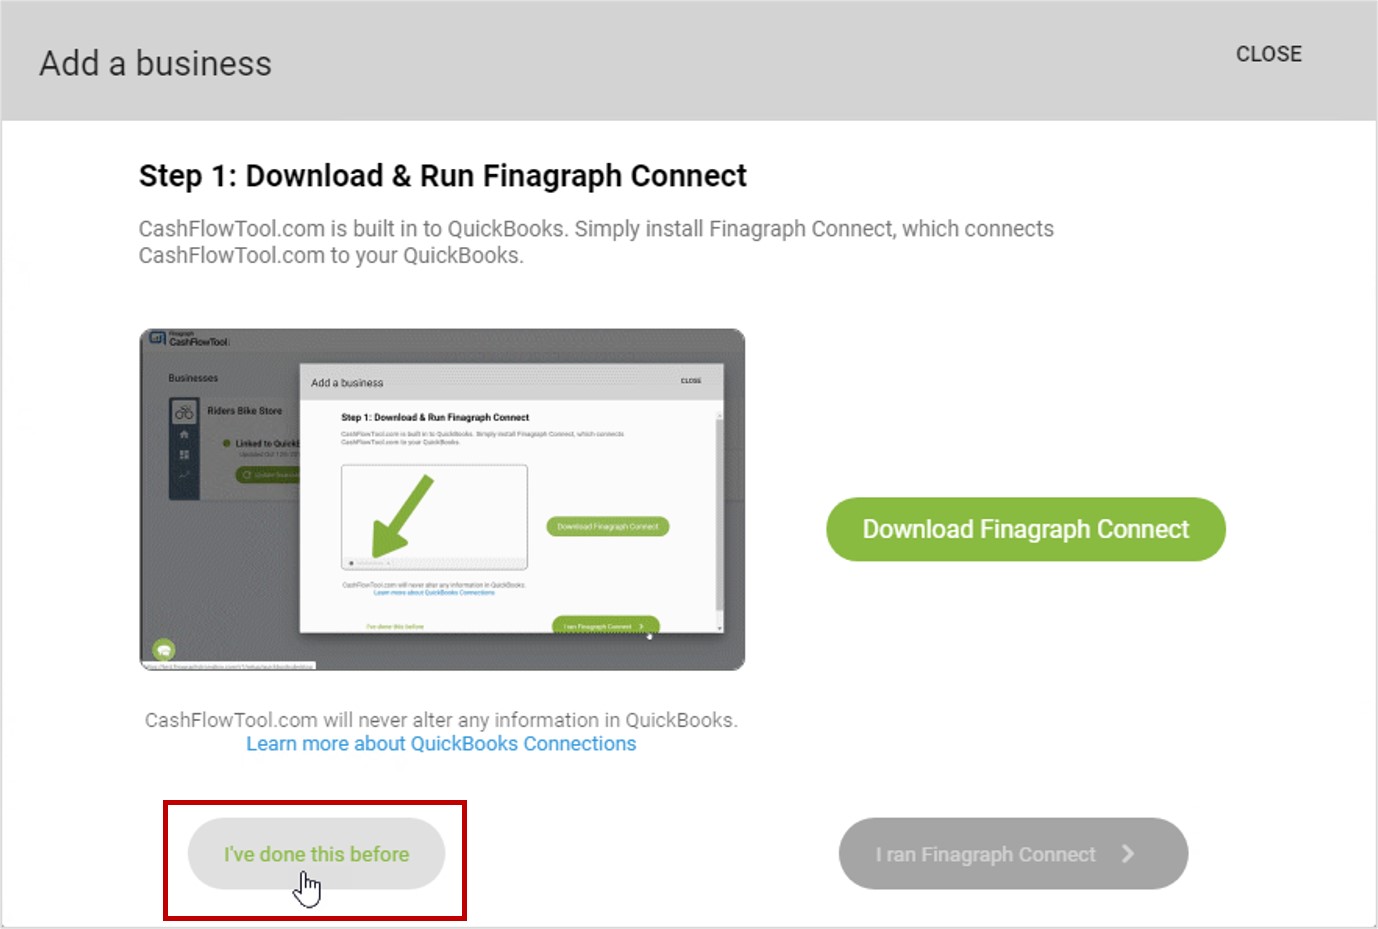
6
When prompted to Download and Run Finagraph Connect, click "I've done this before".
Right Networks has already installed this for you.
7
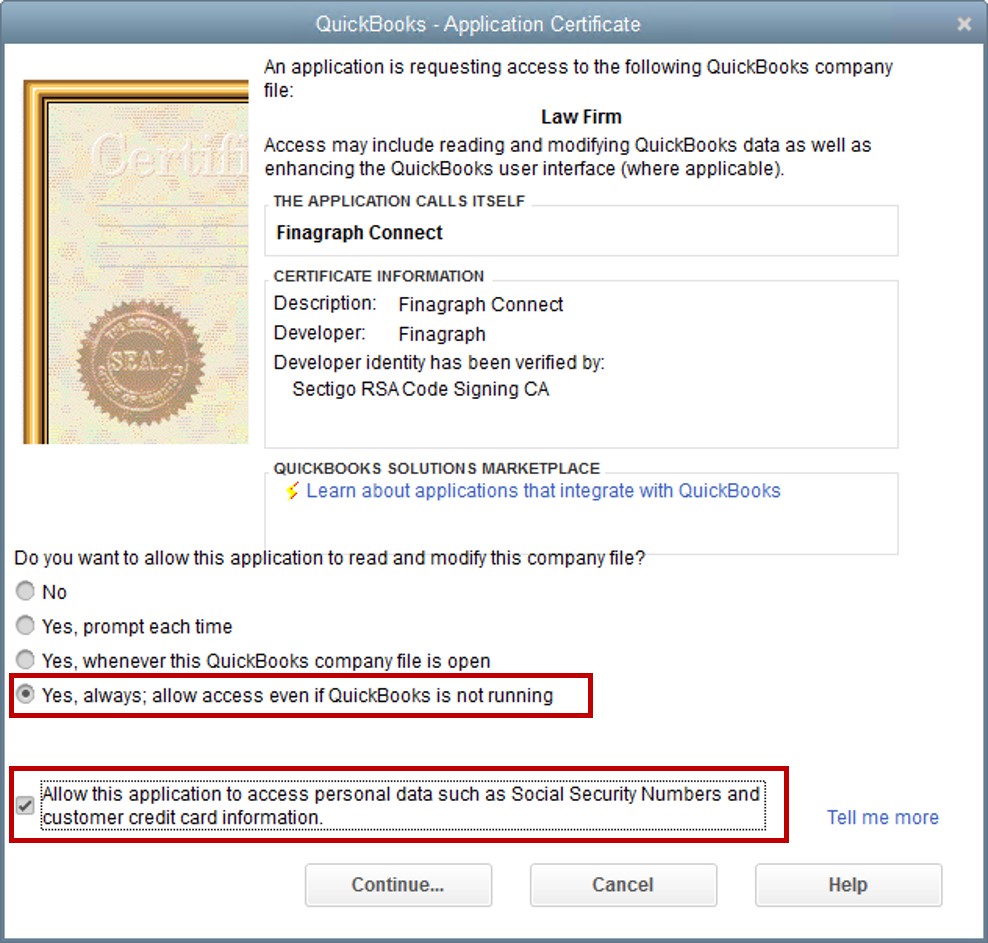
Open the company file in QuickBooks Desktop with admin user access. Once the file is opened, grant the Finagraph application access to your QuickBooks file (see highlighted area on the graphic to the right).
8
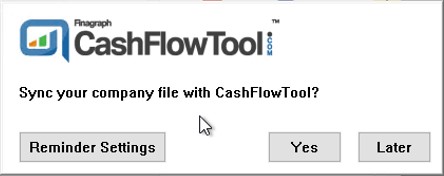
Sync your QuickBooks Company file with CashFlowTool .
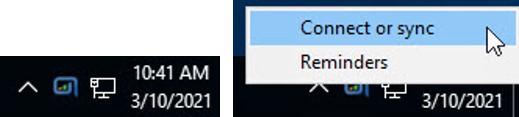
9
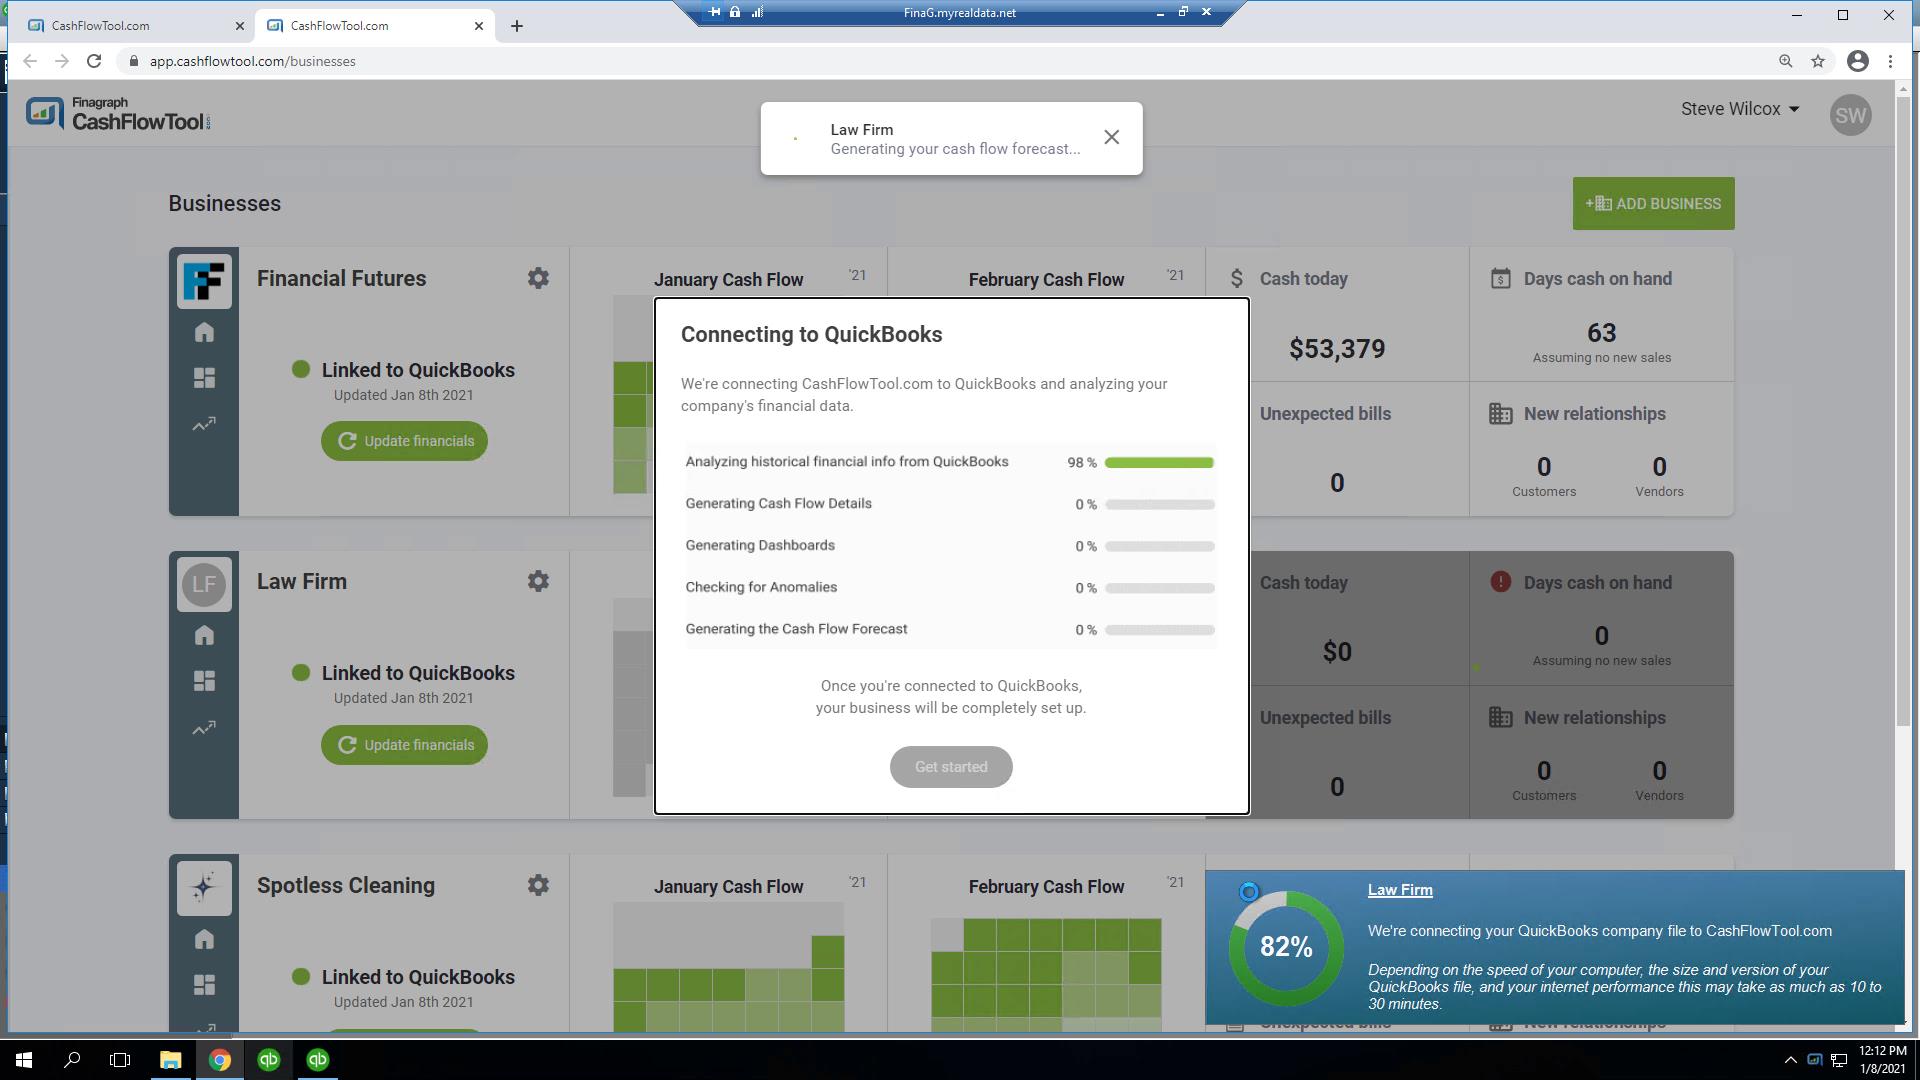
Done! CashFlowTool will now sync with QuickBooks. When you launch QuickBooks, CashFlowTool will present the option to sync. If you need to manually sync with QuickBooks, right-mouse click on the Finagraph Connect Icon in the Windows Taskbar tray and select "Connect or sync" and your financials will get updated.